The aroma of a perfectly roasted chicken wafting through your home is an experience unlike any other. It’s a culinary masterpiece that effortlessly bridges the gap between rustic comfort and elegant dining, offering juicy, tender meat, incredibly crispy skin, and a foundation for countless other delicious meals. While many find the prospect of roasting a whole chicken daunting, mastering the technique is incredibly rewarding – and surprisingly achievable. This guide will walk you through not just how to roast a chicken to perfection, but also how to truly make the most of every last bit, ensuring it's the gift that keeps on giving.
The Undeniable Allure of a Perfectly Roasted Chicken
There's a reason why a roast chicken holds such a special place in culinary traditions worldwide. It's often one of the first "advanced" dishes a home cook attempts, representing a significant step in their cooking journey. The challenge lies in its non-uniform shape; white meat and dark meat cook at different rates, making it tricky to achieve ideal tenderness and juiciness throughout. A poorly roasted bird can be a dry, disappointing affair, but a well-executed one is truly exceptional.
For many, a roast chicken isn't just a meal; it's a ritual. Imagine Sunday suppers centered around a golden-brown bird, surrounded by loved ones. But the magic doesn't end with the main course. As seasoned cooks know, the true brilliance of roasting a chicken lies in its versatility and the culinary opportunities it unlocks for days to come. From transforming leftovers into new, exciting dishes to crafting rich, homemade stock, learning how to roast a chicken and make the most of it is a fundamental skill every home chef should cultivate.
Choosing Your Bird: Air-Chilled vs. Water-Chilled
Before you even begin the roasting process, the type of chicken you select can influence the final outcome. Chickens are typically processed in one of two ways:
- Water-Chilled: This is the more common and often less expensive method. Chickens are submerged in vats of icy water to quickly bring down their temperature. While efficient, this process can cause the bird to absorb excess water, leading to a heavier chicken by weight, but potentially diluting its natural flavors and making crispy skin harder to achieve.
- Air-Chilled: In this method, chickens are cooled by circulating cold air. This process is slower and more costly, but it results in a bird with no added water. Many chefs and home cooks consider air-chilled chickens to be more flavorful, with a better texture, and easier to achieve that coveted crispy skin. For the ultimate roast, an air-chilled chicken is often the superior choice.
Regardless of your choice, aim for a bird around 4.5 pounds for optimal roasting. This size tends to cook evenly and yields a good amount of meat.
The Secret to Unforgettable Flavor: The Power of Pre-Salting
If there's one game-changing technique to master for a truly exceptional roast chicken, it's salting it a day or two in advance. This method, popularized by culinary luminaries, fundamentally transforms the chicken, ensuring both incredibly crisp skin and super flavorful, juicy meat every single time. It's the cornerstone of learning how to roast a chicken and make the most of it.
The Science Behind the Salt
Why does advanced salting work so well? It's a fascinating process:
- Protein Transformation: Initially, when you apply salt to the chicken, it draws moisture out of the cells through osmosis. However, over time, the salt begins to dissolve some of the proteins within and around the muscle fibers. These proteins, which would normally resist chewing and squeeze out moisture aggressively during cooking, are altered and "open up."
- Reverse Osmosis & Moisture Retention: As the salt dissolves and the proteins change, the cells reabsorb the moisture, but with a crucial difference. Because the proteins are now transformed, they can trap significantly more moisture than before.
- Enhanced Seasoning & Texture: When these transformed, moisture-laden proteins are exposed to heat, they don't coagulate and expel moisture in the same way unaltered proteins do. This means more of that recovered moisture survives the ravages of heat, resulting in incredibly juicy meat. Furthermore, the salt effectively pre-seasons the chicken throughout, not just on the surface, making every bite flavorful and tender. The proteins are less tenaciously attached to one another, contributing to a more tender texture.
Your Pre-Salting Method
- Amount: Use 1 teaspoon of kosher salt per pound of meat. For a 4.5-pound chicken, that's 4.5 teaspoons.
- Application: Rub the salt generously all over the chicken, including inside the cavity.
- Storage: Place the salted chicken uncovered (or loosely covered) in the refrigerator for at least 24 hours, and ideally up to 48 hours. The uncovered method helps to dry out the skin further, contributing to superior crispiness.
Mastering the Roast: From Prep to Perfection
After the crucial salting step, the actual roasting process itself becomes much simpler and more predictable. Here’s how to bring your pre-salted bird to golden, juicy perfection:
The Day of the Roast: Crucial Preparations
- Pat It Dry: This step cannot be overstated. On the day of cooking, remove the chicken from the refrigerator and pat it very, very dry all over with paper towels. Get into every crevice. Excess moisture on the skin is the enemy of crispiness, as the oven's energy will first evaporate the water before the skin can brown.
- Optional Seasoning: While the salt has done its work, you can add a tablespoon of a neutral oil (like canola or grapeseed) rubbed all over the skin, along with freshly ground black pepper (about ¾ teaspoon). Some prefer to add aromatic elements like sprigs of rosemary or thyme, a halved lemon, or an onion quartered and placed in the cavity for extra fragrance.
- Preheat Your Pan: Heat an oven-safe skillet (cast iron or heavy-bottomed stainless steel works best) over medium heat for about 5 minutes before adding the chicken. Placing the chicken in a hot pan helps to immediately sear the skin, kicking off the browning process and contributing to that desirable crisp texture.
The Roasting Process
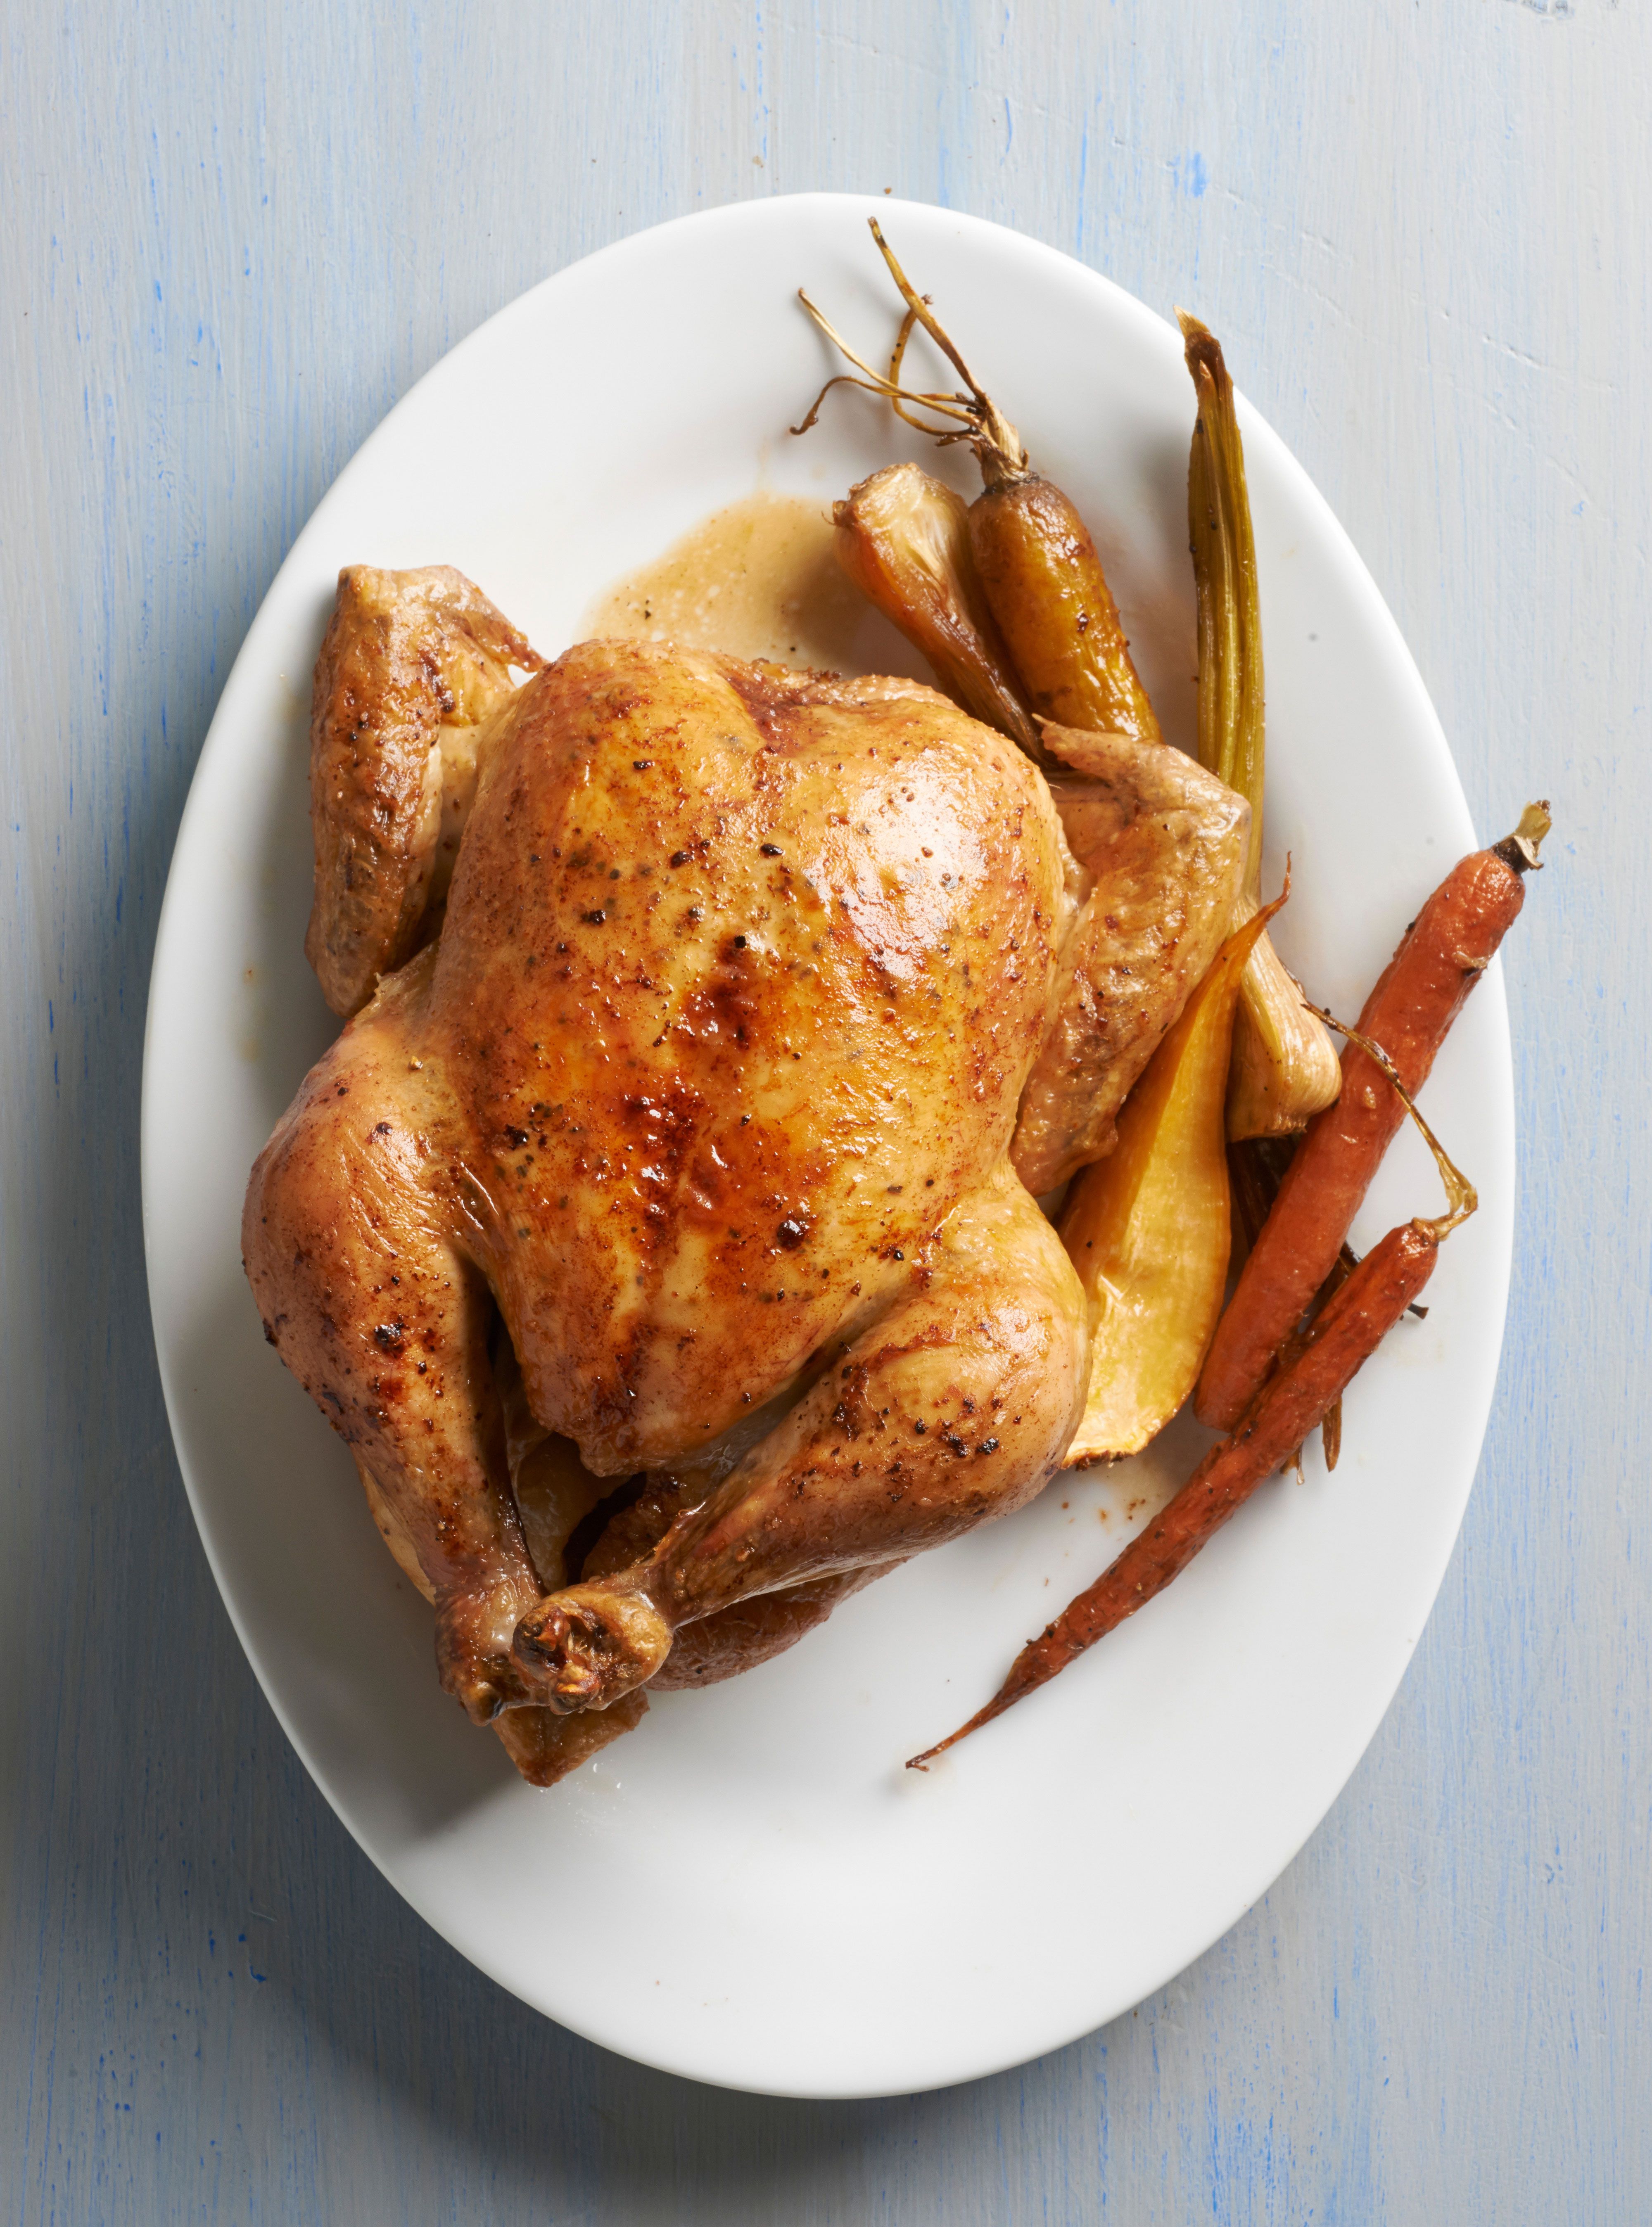
- Oven Temperature: Preheat your oven to a robust 425°F (220°C). This high temperature is key for achieving a beautifully browned and crisp skin.
- Placement: Place the dried, seasoned chicken, breast-side up, directly into your preheated skillet.
- Roasting Time: Roasting times will vary depending on the size of your chicken and your oven's calibration. A 4.5-pound chicken typically takes around 60-75 minutes.
- Doneness: The most accurate way to check for doneness is with an instant-read thermometer. Insert it into the thickest part of the thigh, avoiding the bone. The chicken is done when it reaches 165°F (74°C). The breast meat often reaches this temperature earlier, but the dark meat benefits from cooking a little longer to become truly tender.
- Carryover Cooking: This is a critical final step. Once the chicken reaches its target temperature, remove it from the oven and transfer it to a cutting board. Tent it loosely with foil and let it rest for at least 15-20 minutes. During this time, the internal temperature will continue to rise (carryover cooking), and the juices will redistribute throughout the meat, resulting in an even more succulent bird. Carving too soon will cause all those precious juices to run out.
Beyond the Meal: Making the Most of Your Roasted Chicken
This is where the "gift that keeps on giving" truly comes into play. A whole roasted chicken provides so much more than just one meal. Maximizing its potential is not only economical but also incredibly delicious, transforming your Sunday supper into a culinary springboard for the week.
Delicious Leftover Creations
Once you've enjoyed your initial feast, thoughtfully carve the remaining meat off the bones. Separate white from dark meat, and store them in airtight containers in the refrigerator. Here are just a few ideas for utilizing every shred of your succulent roast chicken:
- Chicken Salad Sandwiches or Wraps: Dice the cold chicken and mix with mayonnaise, celery, red onion, and your favorite herbs (dill, parsley, tarragon). Serve on croissants, whole wheat bread, or lettuce cups.
- Hearty Chicken Soups: Combine shredded chicken with homemade stock (see below!), noodles or rice, and your favorite vegetables for a comforting chicken noodle or chicken vegetable soup.
- Quick Tacos or Quesadillas: Shredded chicken makes a fantastic filling. Sauté with some spices, add to tortillas with cheese and your favorite toppings.
- Chicken Pot Pie: Use leftover chicken in a classic creamy pot pie filling, topped with a flaky crust.
- Stir-Fries or Fried Rice: Add diced chicken to your favorite stir-fry or fried rice recipe for a quick and flavorful weeknight meal.
- Enchiladas or Burritos: Mix shredded chicken with a little sauce and cheese for easy and satisfying Mexican-inspired dishes.
- Chicken and Dumplings: A southern comfort food classic, perfect for a cozy evening.
The Essential: Homemade Chicken Stock
One of the most valuable byproducts of roasting a whole chicken is the carcass. Do NOT throw it away! It's the foundation for an incredibly flavorful, nourishing, and cost-effective homemade chicken stock that will elevate your soups, sauces, and risottos.
Simple Stock Method:
- Gather: Place the entire roasted chicken carcass (including any bits of skin or drippings left in the pan) into a large stockpot.
- Add Aromatics: Add rough-chopped vegetables like an onion, a few carrots, a couple of celery stalks, a few cloves of garlic, and a bay leaf.
- Cover with Water: Fill the pot with cold water until the carcass is completely submerged, plus an inch or two.
- Simmer: Bring to a boil, then immediately reduce the heat to a gentle simmer. Skim off any foam that rises to the surface.
- Slow Cook: Let it simmer, partially covered, for 3-4 hours (or even longer for a richer flavor).
- Strain & Store: Strain the stock through a fine-mesh sieve, discarding the solids. Let it cool completely before storing it in airtight containers in the refrigerator for up to 5 days, or freeze it for several months.
Conclusion
Learning how to roast a chicken and make the most of it is a culinary journey that yields immense satisfaction. From the scientific magic of pre-salting to the simple joy of transforming leftovers, this versatile bird offers endless possibilities. With these techniques – focusing on advanced salting, thorough drying, and smart utilization of leftovers and bones – you're well on your way to consistently producing exceptional roast chicken and unlocking a world of delicious, economical meals. So go ahead, conquer that whole chicken, and savor the delicious rewards for days to come!
