Unlock the Secrets to a Perfectly Roasted Chicken (and Make It Last!)
There are few culinary feats as deeply satisfying as presenting a beautifully roasted whole chicken: golden-brown, with irresistibly crisp skin and meat so tender and juicy it practically melts in your mouth. More than just a meal, a well-roasted bird is a culinary cornerstone, bridging the gap between rustic comfort and elegant dining. Yet, mastering how to roast a chicken and make the most of it - Article 1 can feel like a daunting challenge. Its non-uniform shape often leads to uneven cooking, with delicate white meat drying out before the dark meat is perfectly done. But fear not! This guide will demystify the process, revealing the crucial techniques that ensure perfection every time, and teach you how to extend the delight of your roast far beyond the first sitting.
The Unsung Hero: Why Pre-Salting is Your Best Friend
The single most transformative step in achieving an extraordinary roast chicken is incredibly simple, yet often overlooked: salting it a day or two in advance. This isn't just about seasoning; it's a scientific marvel that fundamentally alters the chicken's texture and moisture retention.
Here's the magic behind it:
- Protein Transformation: Initially, salt draws moisture out of the chicken's cells. However, over time, the salt begins to dissolve some of the tough proteins within and around the muscle fibers. This process "opens up" the proteins.
- Reverse Osmosis & Moisture Trapping: As the proteins transform, the chicken's cells reabsorb the moisture, along with the dissolved salt, through a process akin to reverse osmosis. Crucially, because the proteins have changed their structure, they are now far more capable of trapping and holding onto this moisture than before.
- Heat Resistance: When these transformed, salt-infused proteins are exposed to heat, they don't coagulate and squeeze out moisture in the same aggressive way unaltered proteins do. This means a significant portion of the reabsorbed moisture survives the ravages of the oven, resulting in profoundly juicy meat.
This pre-salting method ensures your chicken is seasoned from within, not just on the surface, and guarantees meat that is not only flavorful but also incredibly tender and moist, with consistently crisp, evenly golden skin. It’s the foundational step for anyone truly wanting to know how to roast a chicken and make the most of it.
Practical Application:
To implement this game-changing technique, simply use 1 teaspoon of kosher salt per pound of chicken. Rub it generously all over the bird, inside and out. Place the chicken on a rack set over a baking sheet (or in a large bowl) and refrigerate, uncovered, for 24 to 48 hours. The uncovered refrigeration helps to further dry the skin, setting the stage for ultimate crispness.
From Chill to Char: Mastering the Roasting Process
Once your chicken has been perfectly pre-salted, the roasting itself becomes a much more predictable and rewarding endeavor. Success lies in a few key steps that ensure even cooking and that coveted crispy skin.
Preparing Your Bird for the Heat
On roasting day, the first crucial step is to pat your chicken very, very dry all over with paper towels. Any residual moisture on the skin will steam rather than crisp, preventing that delicious crackle. Next, lightly rub the bird with about 1 tablespoon of a neutral oil (like grapeseed or canola) and give it a final sprinkle of fresh black pepper. If you opted for a shorter pre-salting period or want extra seasoning, a light dusting of additional salt at this stage is fine, but be mindful not to over-salt.
When selecting your bird, consider an air-chilled chicken. While often slightly more expensive, air-chilled birds are typically less water-logged than their water-chilled counterparts, leading to a more concentrated flavor and better browning potential.
The Hot Start for Ultimate Crispness
Many experienced cooks, myself included, advocate for a hot start to achieve unparalleled crispness. Begin by preheating your oven to a robust 425°F (220°C). While the oven heats, place an oven-safe skillet (cast iron works wonderfully) on your stovetop over medium heat for about 5 minutes. This gets the pan searing hot before the chicken even touches it.
Carefully transfer your dried and seasoned chicken into the heated pan. The immediate sizzle you hear is a good sign – it means the skin is already beginning its journey to golden perfection. This initial direct heat helps to quickly crisp the bottom skin and render fat, preventing sogginess.
The Art of Knowing When It's Done (and When to Rest)
Roast the chicken in your preheated oven at 425°F. The exact cooking time will vary depending on your chicken's size and your oven's calibration, but generally, a 4.5-pound chicken will take approximately 1 hour to 1 hour 15 minutes. The most reliable indicator of doneness is an instant-read meat thermometer. Insert it into the thickest part of the thigh, avoiding the bone, until it reads 170-175°F (77-79°C) for dark meat, and into the thickest part of the breast for 160-165°F (71-74°C). Remember that dark meat benefits from slightly higher temperatures for optimal tenderness.
Crucially, once removed from the oven, let your chicken rest for at least 15-20 minutes before carving. This is known as carryover cooking, where the internal temperature of the bird continues to rise a few degrees. More importantly, resting allows the juices, which have been pushed to the center of the bird by the heat, to redistribute throughout the meat. Carve too soon, and those precious juices will run out onto your cutting board, leaving you with a drier bird. A patient rest is paramount for truly juicy results.
Beyond the First Meal: Making the Most of Your Roast
A whole roasted chicken is truly the "gift that keeps on giving." One of the greatest joys of mastering how to roast a chicken and make the most of it is the sheer versatility it offers, providing delicious meals for days to come. This approach not only maximizes your effort but also reduces food waste and offers incredible value.
Repurposing Leftover Meat
After the initial feast, you'll invariably have leftover chicken, which is a treasure trove for quick and delicious subsequent meals. Strip the remaining meat from the bones and refrigerate it promptly. Here are just a few ideas for how to transform it:
- Chicken Salad: A classic for a reason! Combine shredded chicken with mayonnaise, celery, red onion, and your favorite herbs for sandwiches or atop a bed of greens.
- Hearty Soups & Stews: Leftover chicken is perfect for a comforting chicken noodle soup, a vibrant tortilla soup, or a rich chicken and dumplings. It adds protein and flavor without requiring additional cooking.
- Quick Tacos & Quesadillas: Toss shredded chicken with some taco seasoning, warm it up, and assemble quick and easy tacos, burritos, or cheesy quesadillas for a weeknight meal.
- Pasta Dishes: Stir into a creamy pasta sauce, bake into a chicken tetrazzini, or add to a simple pesto pasta for an instant protein boost.
- Grains & Salads: Fold into a rice pilaf, a farro salad, or a simple green salad for a complete and satisfying lunch.
For more creative uses and inspiring leftover recipes, be sure to check out how to roast a chicken and make the most of it - Article 3.
Liquid Gold: From Carcass to Stock
Do not, under any circumstances, discard that chicken carcass! It is the foundation for incredible homemade chicken stock, which elevates countless dishes. Making your own stock is economical, reduces waste, and yields a far superior product to anything store-bought.
To make stock:
- Place the entire roasted carcass (and any collected drippings, if not making gravy) into a large pot.
- Add aromatic vegetables such as roughly chopped onions, carrots, and celery (a classic mirepoix), a bay leaf, a few peppercorns, and fresh parsley stems.
- Cover everything with cold water by about 1-2 inches.
- Bring to a gentle simmer, then reduce the heat to low, cover partially, and let it simmer for 2-4 hours. Skim off any foam that rises to the surface during the first hour.
- Strain the stock through a fine-mesh sieve, discarding the solids.
- Once cooled, you can refrigerate the stock for up to 5 days or freeze it in airtight containers for several months.
This homemade stock will be your secret weapon for risottos, gravies, soups, and sauces, proving once again the enduring value of learning how to roast a chicken and make the most of it.
Expert Tips for Roast Chicken Perfection
- Trussing (or Not): While some advocate trussing to create a compact shape, it can sometimes hinder even cooking by keeping the legs too close to the body. For most home cooks, simply leaving the legs untrussed allows for better air circulation and more even browning of the dark meat, which also benefits from slightly longer cooking.
- Aromatics in the Cavity: For an extra layer of flavor, stuff the chicken's cavity with half a lemon, a few sprigs of fresh herbs (rosemary, thyme, sage), and a halved head of garlic. These impart subtle flavor to the meat and drippings.
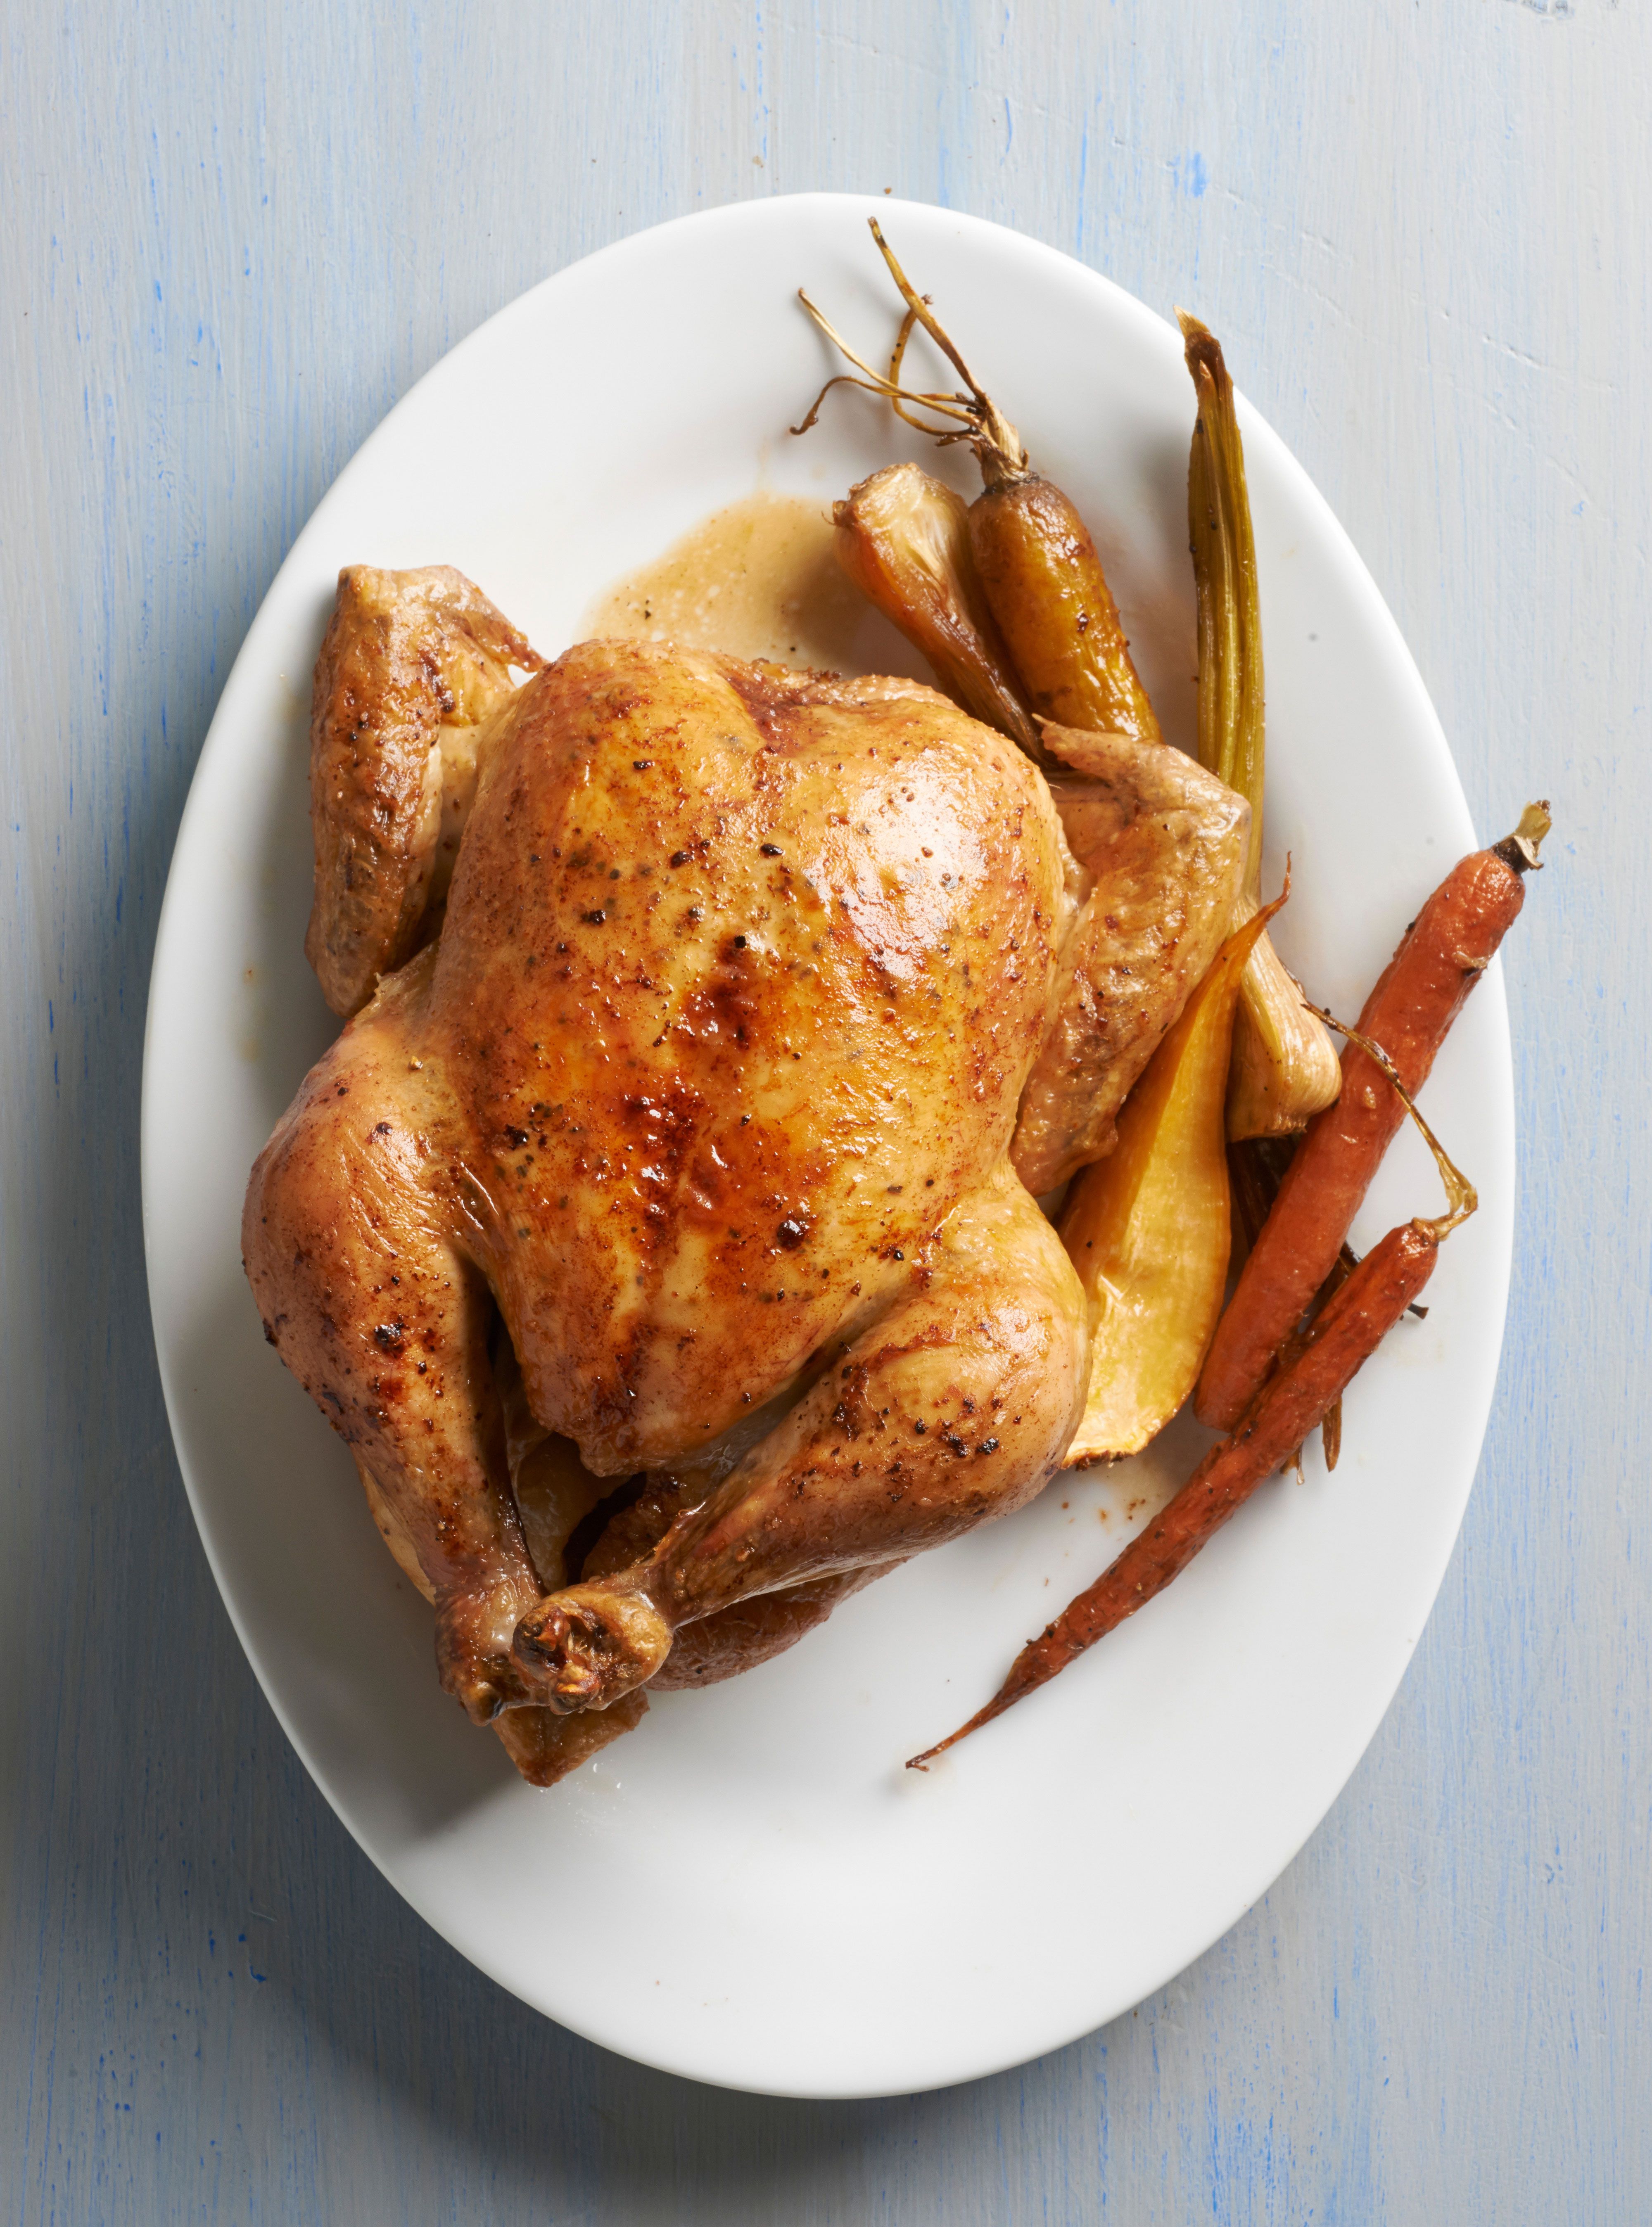
- Vegetable Bed: Roasting the chicken on a bed of chopped root vegetables (carrots, potatoes, onions, parsnips) not only provides a delicious side dish but also allows them to absorb the incredible chicken drippings, intensifying their flavor.
- Pan Gravy: Don't let those flavorful pan drippings go to waste! After removing the chicken, place the pan on the stovetop over medium heat. Deglaze with a splash of white wine or chicken stock, scraping up any browned bits. Whisk in a tablespoon of flour or cornstarch slurry, simmer until thickened, and season to taste. A quick, rich gravy is yours!
The Enduring Appeal of a Mastered Roast
Mastering the art of roasting a chicken, especially with the game-changing technique of pre-salting, transforms a humble bird into a culinary triumph. From the initial burst of flavor and crisp skin to the tender, juicy meat and the myriad of possibilities for delicious leftovers and rich homemade stock, knowing how to roast a chicken and make the most of it truly empowers you in the kitchen. It’s a skill that pays dividends, offering satisfying meals, reducing waste, and building a foundation for countless other dishes. So, embrace these techniques, trust the process, and prepare to elevate your home cooking to new, incredibly delicious heights.
