There are few culinary achievements as universally satisfying and impressive as a perfectly roasted whole chicken. It’s a dish that effortlessly bridges the gap between everyday comfort food and an elegant centerpiece, capable of gracing both a casual weeknight dinner and a festive Sunday supper. But beyond its undeniable appeal, mastering how to roast a chicken and make the most of it unlocks a world of culinary possibilities, turning a single bird into multiple delicious meals and valuable ingredients.
Many home cooks find the prospect of roasting a whole chicken daunting, often wrestling with the challenge of achieving both succulent, tender meat and wonderfully crisp, golden skin without one compromising the other. The good news is, the secret to consistently excellent results isn't overly complicated. In fact, it hinges on a simple, yet profoundly effective, technique that will transform your roasting game forever.
The Unrivaled Pleasure of a Perfectly Roasted Chicken
For many, a roast chicken isn't just a meal; it's a tradition. It evokes warmth, family gatherings, and the comforting aroma of a home-cooked feast. What makes it truly special, however, is its incredible versatility. A single roasted chicken is truly the "gift that keeps on giving."
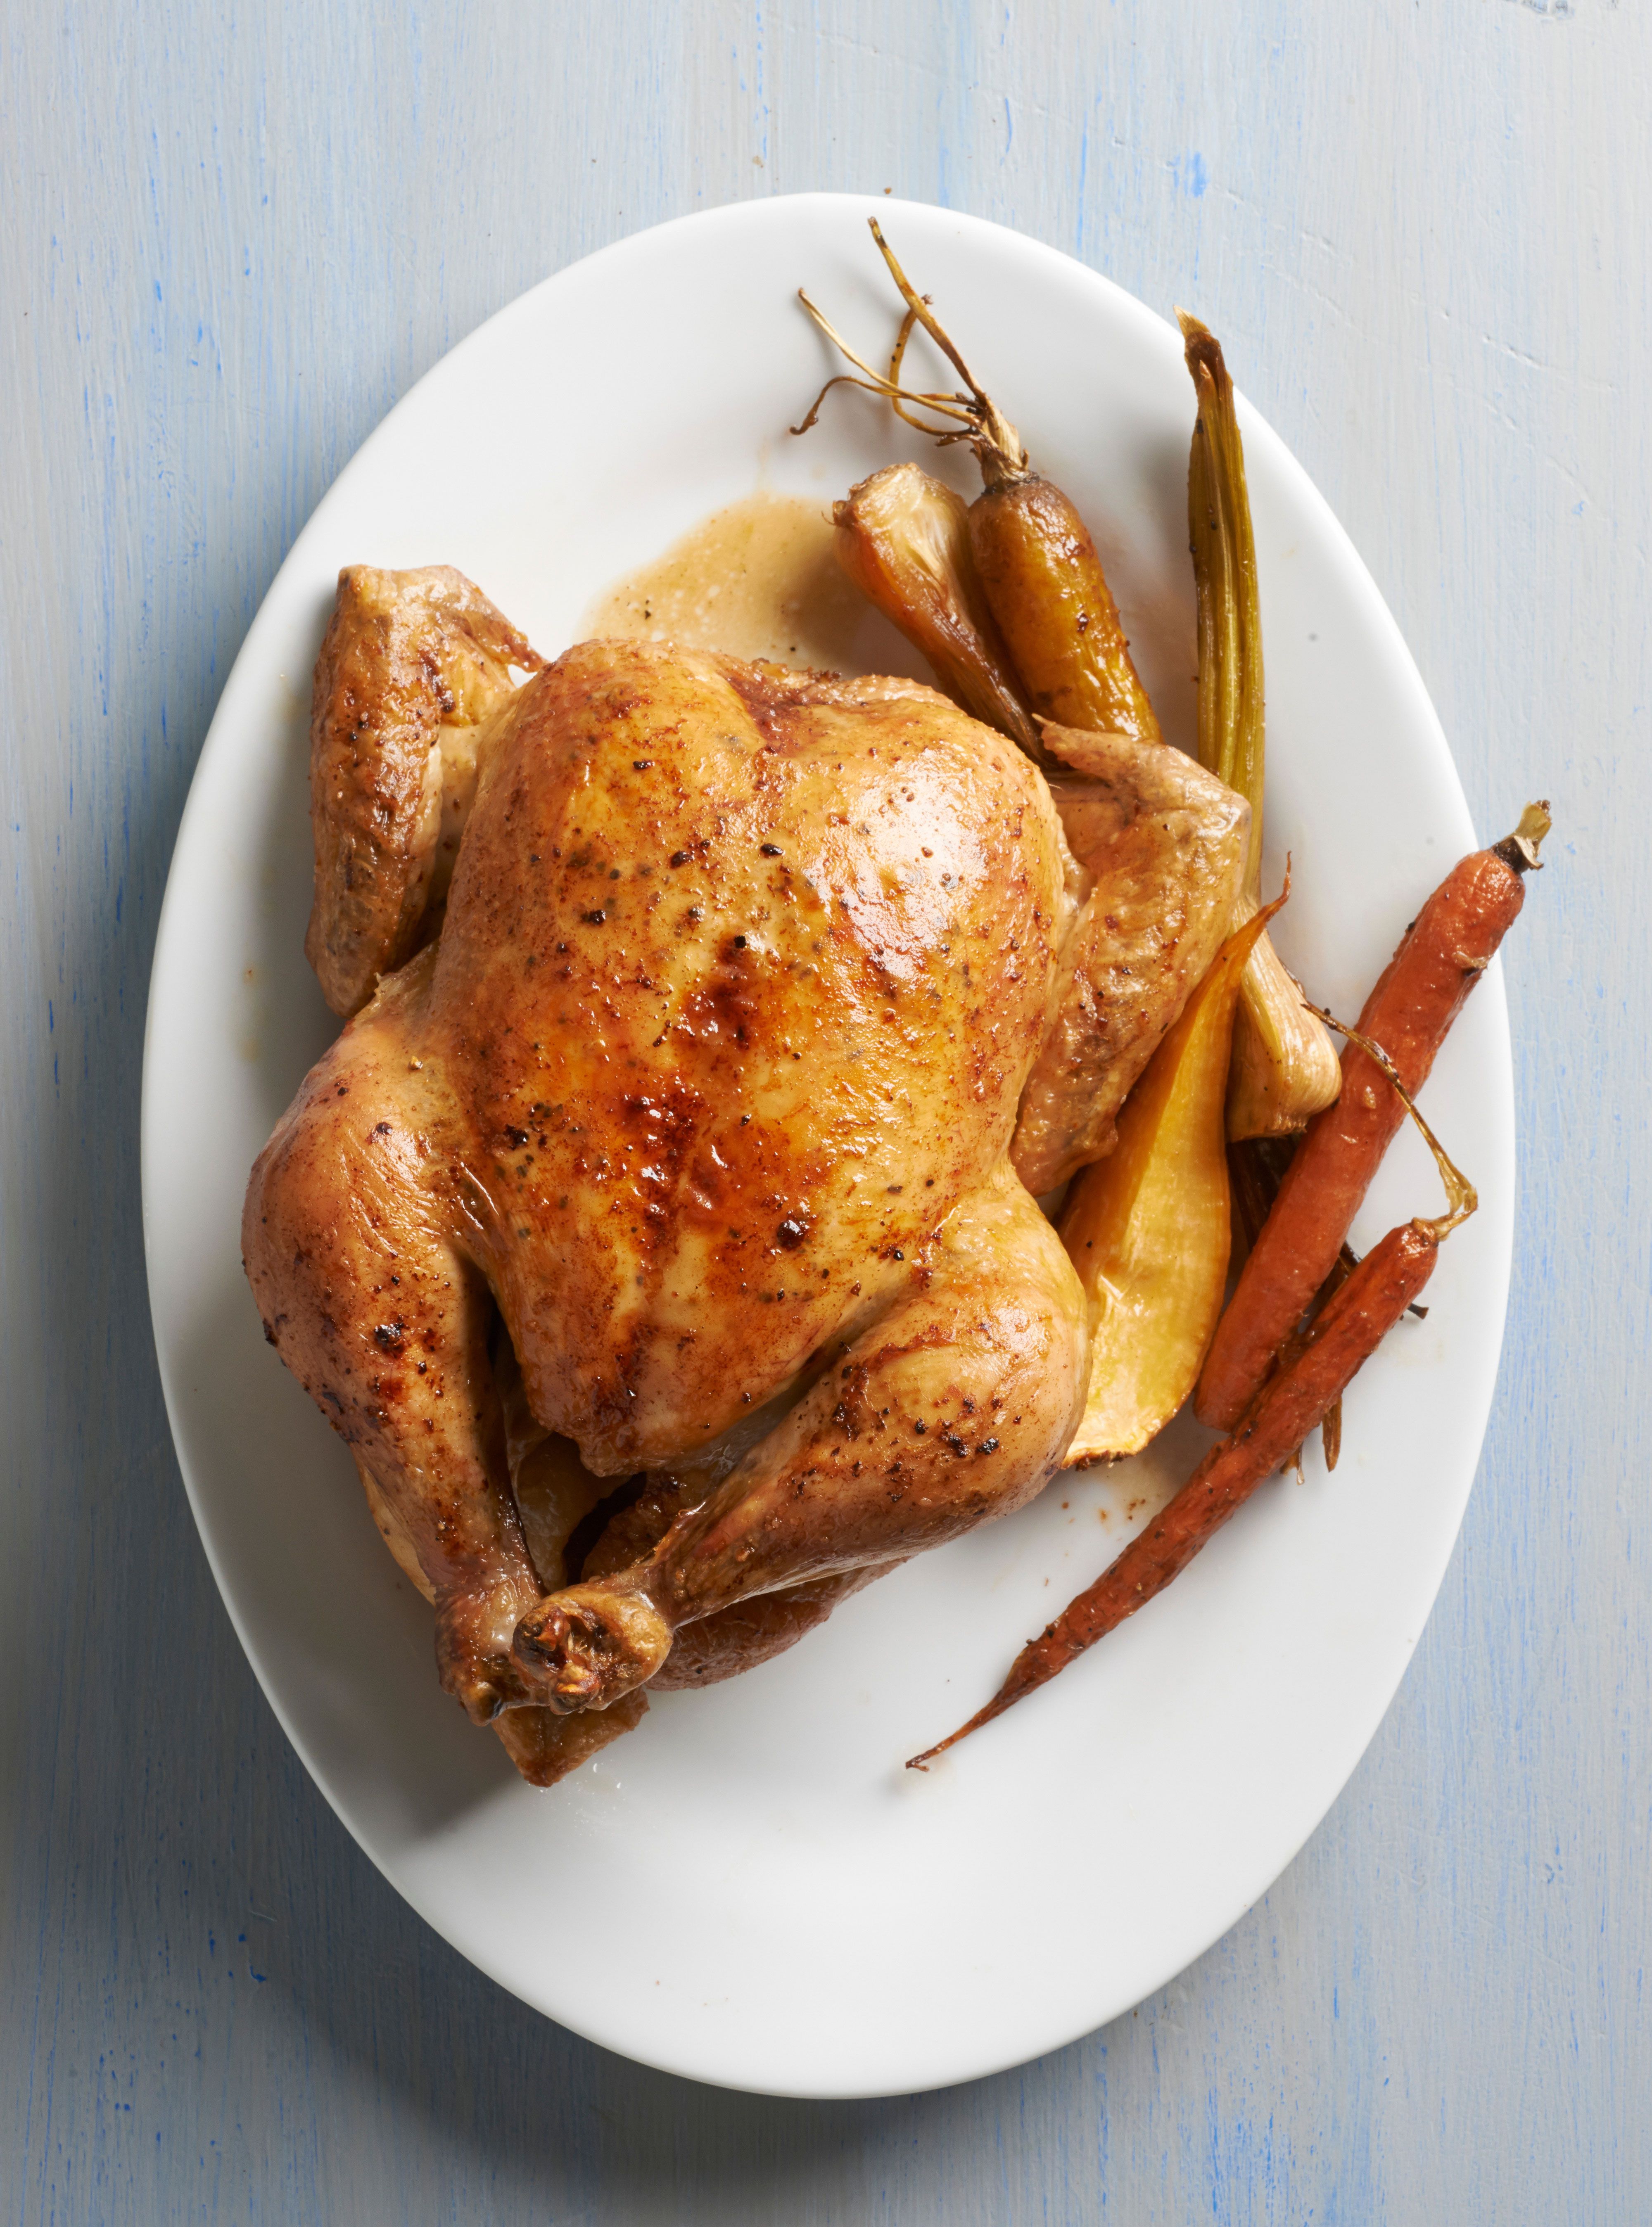
- A Full Meal: Feeding a family of four to six is just the beginning. The initial presentation is impressive, offering a beautiful golden bird ready for carving.
- Flavorful Leftovers: Any remaining meat can be repurposed into countless dishes, extending the pleasure for days. Think quick and easy chicken salad sandwiches, a hearty addition to a vibrant soup, or even flavorful tacos.
- The Foundation for Future Meals: Perhaps one of the greatest benefits, and often overlooked, is the carcass. Far from being waste, the bones and drippings are a treasure trove for making rich, deeply flavorful homemade chicken stock. This stock, in turn, becomes the backbone for future soups, stews, risottos, and sauces, elevating your cooking to another level.
Yet, the journey to a flawless roast chicken can be fraught with peril. The bird's uneven shape often leads to disparate cooking times for white and dark meat, resulting in dry breasts or undercooked thighs. The quest for that elusive crispy skin while maintaining juicy meat has sent many a cook down a rabbit hole of various techniques. But what if we told you there’s a method that addresses these challenges head-on, delivering exceptional results every time?
The Game-Changing Technique: Pre-Salting for Superior Results
The cornerstone of a truly exceptional roast chicken, one with skin that crackles and meat that practically melts in your mouth, lies in a seemingly simple, yet incredibly powerful, step: salting the chicken a day or two in advance. This technique, popularized by culinary legends, is more than just seasoning; it's a scientific marvel that fundamentally alters the chicken's texture and moisture retention.
Understanding the Science of Pre-Salting
The magic of pre-salting works on two primary fronts:
- Protein Transformation: Initially, salt draws moisture out of the chicken's cells. However, over time, the salt begins to dissolve some of the tough proteins within and around the muscle fibers. These proteins, once rigid, start to "open up," becoming less tightly bound. This chemical change significantly reduces the meat's natural resistance to chewing, leading to a more tender final product.
- Enhanced Moisture Retention (Reverse Osmosis): As the salt-laden moisture is initially drawn out, a process of reverse osmosis begins. The chicken's cells reabsorb this moisture, but because the salt has altered the protein structure, the cells are now far more capable of trapping and holding onto this revitalized moisture. When subjected to heat, these transformed proteins don't coagulate and squeeze out moisture in the same way as their untreated counterparts. The result is consistently juicy, well-seasoned meat that withstands the rigors of roasting, emerging succulent rather than dry.
This scientific marvel ensures that every bite is bursting with flavor and moisture, from the very core of the thigh to the tender breast meat.
Actionable Steps for Pre-Salting:
- Choose Your Salt: Always opt for kosher salt, which has a coarser grain and provides better coverage without over-salting compared to fine table salt.
- Measure Precisely: The general rule of thumb is 1 teaspoon of kosher salt per pound of chicken. For an average 4-5 pound bird, this means 4-5 teaspoons.
- Apply Thoroughly: Rub the salt generously all over the chicken, both inside the cavity and particularly under the skin of the breast and thighs, where possible.
- Refrigerate Uncovered: Place the salted chicken on a rack set over a baking sheet, uncovered, in your refrigerator for at least 24 hours, and ideally up to 48 hours. Leaving it uncovered helps the skin dry out, which is crucial for achieving that coveted crispiness later.
From Fridge to Flawless: Roasting Day Preparations
Once your chicken has been patiently pre-salting in the fridge, the day of roasting involves a few critical steps that pave the way for perfection.
Pre-Roasting Rituals for Ultimate Crispness
- Pat, Pat, Pat DRY: This step cannot be overstated. Remove the chicken from the refrigerator and pat it very, very dry all over with paper towels. Any residual moisture on the skin will steam rather than crisp, preventing that beautiful golden crust from forming.
- Room Temperature (Optional but Recommended): For more even cooking, let the chicken sit at room temperature for about 30-60 minutes before roasting. This takes the chill off, helping the meat cook more uniformly.
- Minimal Seasoning: Since the chicken is already seasoned from within, a light application of a neutral oil (like grapeseed or avocado) and a sprinkle of freshly ground black pepper is often all that's needed. Resist the urge to add more salt at this stage.
- Preheat the Pan: For an exceptionally crispy bottom skin, place an oven-safe skillet (cast iron works wonderfully) over medium heat on your stovetop for about 5 minutes before adding the chicken. This creates an immediate sear when the bird is placed in, initiating the crisping process right away.
- Oven Temperature: Preheat your oven to a robust 425°F (220°C). The high heat helps achieve a beautiful, even browning and crisp skin.
When selecting your chicken, if available, opt for an air-chilled bird. Unlike water-chilled chickens, which can absorb excess water during processing (contributing to less flavor and juiciness), air-chilled birds retain their natural flavor and moisture content, making them an ideal choice for roasting.
Once the oven is hot and the pan is searing, carefully place your dried, seasoned chicken into the heated pan. Roast until a meat thermometer inserted into the thickest part of the thigh (without touching bone) registers 165°F (74°C). Remember the crucial element of carryover cooking: remove the bird from the oven when it reaches this temperature and let it rest, loosely tented with foil, for at least 15-20 minutes. This allows the juices to redistribute, ensuring maximum succulence.
Beyond the Roast: Maximizing Your Chicken's Potential
The true genius of knowing how to roast a chicken and make the most of it lies in harnessing its every part. Once the initial meal is enjoyed, the work is far from over.
Creative Leftovers
Don't let leftover roast chicken languish in the fridge! Its robust flavor and tender texture make it perfect for:
- Chicken Salad: Mix shredded chicken with mayonnaise, celery, grapes, and herbs for a classic lunch.
- Soups and Stews: Add pulled chicken to a simmering broth with vegetables for a comforting meal.
- Tacos or Enchiladas: Shredded chicken makes a fantastic filling for quick weeknight Mexican dishes.
- Casseroles: Incorporate into creamy casseroles for an easy family dinner.
- Sandwiches & Wraps: Elevate your packed lunch with flavorful chicken instead of deli meat.
For more creative ideas on transforming your leftovers into exciting new dishes, check out how to roast a chicken and make the most of it - Article 2.
The Ultimate Chicken Stock
After carving, the carcass is your golden ticket to incredible homemade chicken stock. Simply place the bones, any skin, and pan drippings into a large pot, cover with water, add aromatics like onions, carrots, and celery, and simmer for several hours. This deeply flavored broth can be frozen for future use, becoming the base for countless delicious recipes.
To master the art of homemade chicken stock and unlock its full potential, dive into how to roast a chicken and make the most of it - Article 3.
Mastering how to roast a chicken and make the most of it is a culinary skill that truly keeps on giving. By embracing the simple yet powerful technique of pre-salting, you guarantee a roast chicken with perfectly crispy skin and incomparably juicy, flavorful meat every single time. And by thoughtfully utilizing the leftovers and carcass, you extend the value and deliciousness of a single bird into multiple satisfying meals. So, next time you're planning a meal, don't just roast a chicken – roast it perfectly, and then make the absolute most of every succulent bit.
